
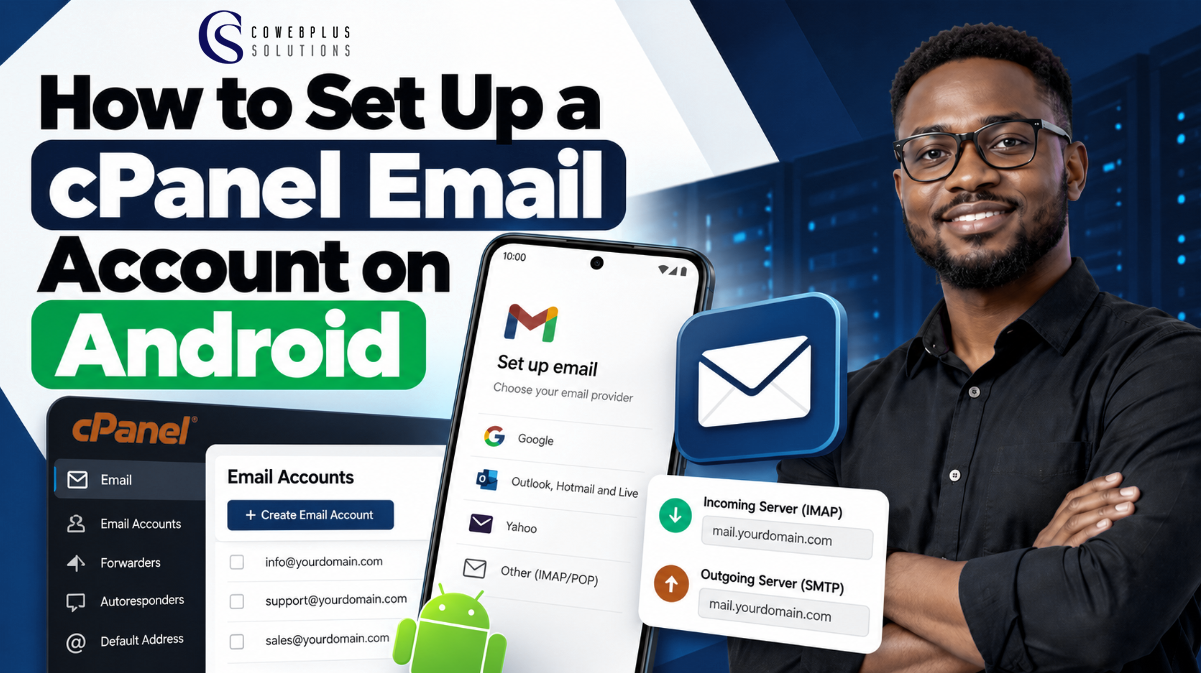
How to Set Up a cPanel Email Account on Android
Learn how to set up a cPanel Email account on Android using Gmail, IMAP, SSL settings, and the correct incoming and outgoing mail ports.
Connect your business cPanel Email to Gmail on Android using IMAP and start sending and receiving messages from your phone.
If you want to set up a cPanel email account on Android, you can do it directly through the Gmail app on your phone. You don’t need to install a separate mail app.
Once connected, you can read messages, reply to customers and send emails using an address such as hello@yourbusiness.com from your Android phone. Google currently allows non-Gmail email addresses to be added to the Gmail mobile app through manual IMAP setup.
What You Need Before Starting
Get these details ready:
- Your complete email address
- Your email password
- Your incoming mail server
- Your outgoing mail server
- Your IMAP and SMTP ports
For most cPanel accounts using SSL/TLS, the common settings are:
| Setting | Details |
|---|---|
| Username | Your full email address |
| IMAP port | 993 |
| SMTP port | 465 |
| Security | SSL/TLS |
| Incoming server | Usually mail.yourdomain.com |
| Outgoing server | Usually mail.yourdomain.com |
cPanel recommends IMAP for incoming mail and lists port 993 for secure IMAP and 465 for secure SMTP. Your exact server hostname may differ based on the SSL certificate and hosting configuration.
If you’re using Cowebplus or another hosting provider, you can also check the Connect Devices or mail configuration section inside cPanel for the exact details assigned to your account.
Add Your cPanel Email to Gmail
The easiest method on most Android phones is through Gmail.
1. Open Gmail
Open the Gmail app on your Android phone.
Tap your profile picture at the top-right corner.
Select:
Add another account
Google confirms that Gmail for Android supports adding non-Gmail addresses this way.
2. Select Other
You’ll see options such as:
- Outlook
- Yahoo
- Exchange
- Other
Tap Other.
Your cPanel email doesn’t normally appear as a separate provider.
3. Enter Your Email Address
Type your full business email.
For example:
Tap Next.
4. Choose Personal (IMAP)
Select:
Personal (IMAP)
IMAP keeps your mail on the server and synchronises your inbox across supported devices.
So, if you read an email on your Android phone, the status can also appear when you open the same account on your computer.
Google’s manual setup instructions also direct users of unlisted email providers to select Personal (IMAP).
5. Enter Your Password
Enter the password created for that specific email account.
Use your email account password, not your cPanel login password unless you intentionally set them to the same thing.
Tap Next.
Configure the Incoming Mail Server
Gmail may automatically detect the settings.
If it doesn’t, enter them manually.
A typical configuration looks like this:
Username:
support@example.com
Password:
Your email password
Server:
mail.example.com
Port:
993
Security type:
SSL/TLS
Then tap Next.
Your hosting provider may use a different server hostname, so use the details shown inside your hosting account if they differ from the example above. cPanel can use either the email domain or the server hostname depending on its SSL setup.
Configure the Outgoing SMTP Server
Next, Gmail will ask for the outgoing mail details.
You will commonly use:
SMTP server:
mail.example.com
Port:
465
Security type:
SSL/TLS
Require sign-in:
Yes
Username:
Your full email address
Password:
Your email password
The standard secure SMTP port listed in cPanel’s current mail client documentation is 465.
Tap Next after entering the details.
Choose Your Email Preferences
Android may now ask how frequently you want the account to sync.
You may see settings for:
- Email notifications
- Automatic email syncing
- Attachment downloads
- Sync frequency
Choose the options that suit how you use your email.
If this is your business email, keeping notifications enabled can help you respond to messages faster.
Add Your Sender Name
The final step usually asks for your name.
This is the name people will see when you send an email.
For example:
Cowebplus Support
or
Michael from Cowebplus
Tap Next.
Your email account should now appear inside Gmail.
Test the Account
Don’t assume everything is working immediately.
Send a quick test email to another address you own.
Then reply to that message.
This checks two things:
- Incoming email works.
- Outgoing email works.
If you can send and receive without errors, you’re set.
What If the Email Refuses to Connect?
Most cPanel email problems on Android come from a small number of settings.
Wrong username
Use your complete email address.
Correct:
Avoid using only:
support
Wrong password
Reset the email password from cPanel if you’re unsure about it.
Remember that the email password can be different from your main hosting password.
Wrong mail server
Don’t automatically assume your server is:
mail.example.com
Many hosting accounts use that format, but some servers require another hostname.
Check your cPanel email configuration details.
SSL certificate error
You may see errors such as:
- Certificate not trusted
- Certificate expired
- Hostname mismatch
- Certificate not found
Google states that certificate errors can happen when the mail server doesn’t provide a valid secure certificate for the hostname being used.
Try the hostname supplied by your hosting provider instead of guessing one.
Emails can be received but won’t send
This normally points to your SMTP configuration.
Check:
- SMTP server
- SMTP port
- SSL/TLS setting
- Username
- Password
- Require sign-in option
For a standard secure cPanel setup, SMTP commonly uses port 465.
IMAP or POP3: Which Should You Use?
For most users, use IMAP.
Here’s the difference:
| IMAP | POP3 |
|---|---|
| Keeps mail synced | Mainly downloads mail |
| Better for several devices | Better suited to limited single-device use |
| Messages remain available on the server | Messages may be removed from the server depending on settings |
| Recommended for modern email use | Less convenient for multi-device access |
cPanel currently recommends IMAP because POP3 can download messages and remove them from the server, which can stop those emails from appearing in other mail clients.
Your cPanel Email Is Ready
Once you set up a cPanel email account on Android, you can handle your business messages from the same Gmail app you already use.
For most accounts, the important details are simple:
- Use your full email address as the username.
- Choose IMAP.
- Use SSL/TLS.
- Use port 993 for IMAP.
- Use port 465 for SMTP.
- Confirm the correct mail server hostname from your hosting account.
If the automatic setup fails, don’t keep changing random settings. Open cPanel, check the mail client configuration for that email address, and copy the listed details into Gmail.
Need a professional email address for your business?
With a hosting account from Cowebplus, you can create domain-based email addresses such as you@yourbusiness.com and manage them directly from cPanel.
Check this out: Don’t Let Good Traffic Go to Waste
Leave a Reply
Your email address will not be published. Required fields are marked.